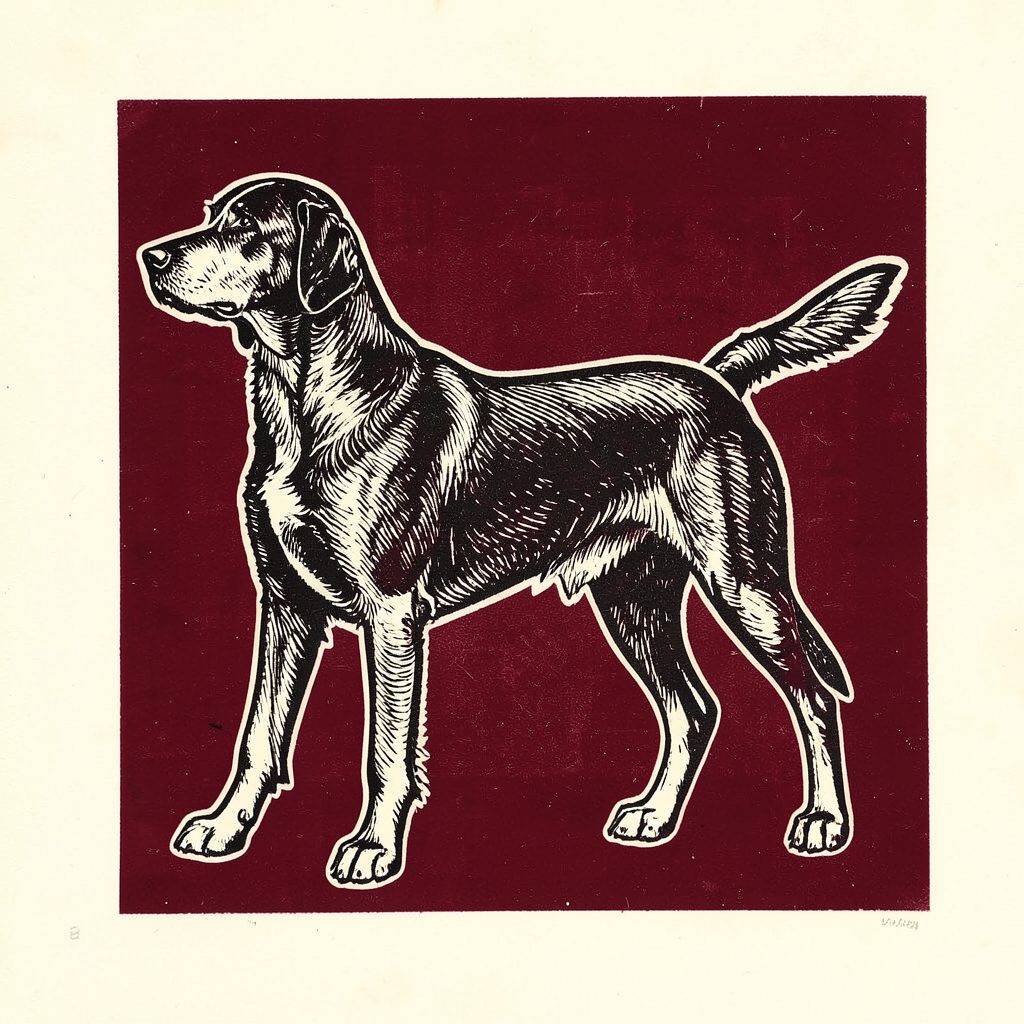
Photographing Your Dog for Show Entries
A well-made dog photograph gives judges, breeders and fellow exhibitors a clear view of your dog’s structure, condition and character. It does not need to look like a glossy magazine cover, but it should be sharp, accurately coloured and composed so the dog is easy to assess.
These tips for photographing your dog for show entries apply whether you are preparing a digital entry, updating a breeder profile or creating a keepsake from a conformation event. Australian exhibitors may be working in bright Queensland sun, coastal humidity in Sydney or a chilly morning at a Melbourne show, so the setting and timing matter as much as the camera.
| Photographing choice | Best use | Main advantage | Common risk |
|---|---|---|---|
| Smartphone portrait mode | Quick entry or profile image | Convenient and widely available | Artificial background blur can hide feet or tail |
| DSLR or mirrorless camera | Formal show portrait | Greater control over focus and colour | Settings can be overwhelming |
| Outdoor natural light | Most breeds and handlers | Natural coat colour and soft detail | Harsh midday shadows |
| Indoor shaded area | Pale, dark or highly reflective coats | Consistent exposure | Dim images and yellow lighting |
| Standing stack | Conformation assessment | Shows proportions and topline | Poor foot placement changes the outline |
Check The Entry Requirements First
Before taking a photograph, read the specific requirements for the event, club or online entry portal. Some listings request a head-and-shoulders portrait, while others accept a full-body image. A registration or catalogue image may have different dimensions from a breeder advertisement, so avoid assuming that one file suits every purpose.
Look for limits on file size, aspect ratio, background colour and image format. Keep an original, high-resolution file and make a separate copy for uploading. Never crop so tightly that the ears, paws or tail touch the edges. If the show secretary has requested a particular view, follow that instruction before applying any creative styling.
A useful practice is to photograph the dog in both a clean standing stack and a relaxed profile. This gives you options for the entry and creates a reliable record of the dog’s appearance. It also helps when preparing for events connected with Dogs Australia affiliates, local breed clubs or major fixtures such as the Sydney Royal Easter Show.
Choose A Calm, Suitable Setting
Select a quiet area where your dog can stand naturally without being distracted by traffic, children or unfamiliar animals. A plain fence, hedge or neutral wall usually works better than a busy garden. The background should support the outline rather than compete with it, especially around the head, tail and feet.
In Australia, early morning or late afternoon is often kinder to both the dog and the photograph. The sun can be intense at an outdoor ground in Brisbane, Perth or Adelaide, and hot concrete may make a dog fidget or lift its paws. Shade is useful, although deep shade beneath a tree can create green or blue colour casts. A shaded verandah or open garage with plenty of daylight can be a practical alternative.
Keep the camera at the dog’s mid-body height. Photographing from above makes the legs appear short and can distort the topline, while shooting from ground level may exaggerate the chest and head. A level camera produces a more faithful representation of the dog’s proportions.
Prepare The Coat And Equipment
Brush the coat according to the breed’s normal presentation rather than changing its texture with excessive product. Check the ears, eyes, mouth, feet and tail for stray hairs, grass seeds or damp patches. A clean collar and lead can help with control, but remove them for the final frame if the rules or purpose require an unobstructed view.
Bring a helper, treats, a grooming spray if appropriate, a towel and several high-value rewards. A squeaky toy or familiar sound can bring the ears forward, but use it sparingly so the dog does not become overexcited. The helper should stand near the camera, not wave from behind the dog, which can cause a twisting neck or uneven stance.
A modern phone is perfectly capable of producing a useful image when the lens is clean and the light is good. Tap the dog’s eye to set focus, turn off distracting filters and take several frames in quick succession. If you use a DSLR or mirrorless camera, select a single focus point over the nearer eye and use a shutter speed fast enough to freeze small movements.
Build A Correct Stacked Pose
For a conformation photograph, the dog should stand squarely and comfortably. The front legs should be placed beneath the shoulders, with the rear legs positioned to show the breed’s normal angulation without overstretching. Ask the handler to make small adjustments rather than dragging the dog into position.
The lead should be held lightly and high enough to encourage an alert head carriage without tightening the throat. Keep the dog’s face turned slightly towards the camera, but do not twist the neck so far that the chest and shoulders no longer align. For breeds with distinctive toplines, coat texture or tail carriage, take extra care that these features are visible.
Shoot at least three views: a full side profile, a three-quarter angle and a front or rear view if requested. Review the images at full size before releasing the dog. A frame that looks fine as a thumbnail may reveal crossed feet, a half-closed eye or a tail falling out of position when enlarged.
Use Light And Colour Accurately
Soft, even light is generally the safest choice. If the dog is facing the sun, it may squint; if the sun is behind the dog, the coat can become a dark silhouette. Position the dog with the light coming from the side or slightly in front, and watch for shadows across the muzzle and eyes.
Dark coats need enough exposure to show detail without becoming grey, while white coats can lose texture when the camera overexposes them. Coloured coats should look like the dog in real life, not highly saturated or orange. Australia’s strong ultraviolet light can also make a midday session uncomfortable, so keep breaks short and provide water, especially during summer events in regional New South Wales or northern Queensland.
Avoid flash close to the dog’s face unless you already know the dog is comfortable with it. Indoor household bulbs may make a cream coat look yellow. If you must work inside, switch off mixed light sources and use a large window for a softer, more consistent result.
Edit Carefully And Save The Right File
Editing should correct technical issues, not redesign the dog. Crop for balance, straighten the horizon and adjust exposure or white balance gently. Remove a distracting object in the background only if the entry rules allow it, and never alter the dog’s body, coat colour, markings, eye shape or proportions.
Keep the background simple enough that the judge’s attention stays on the subject. A plain grey, green or natural outdoor setting often works well in online galleries and printed club material. Avoid fashionable filters, heavy skin-smoothing effects and artificial blur around the legs, since these can make the image look misleading.
Save an untouched original and an upload-ready copy with a clear filename, such as breed-name-call-name-date.jpg. Check the image on a computer or tablet as well as a phone. If you are also preparing educational or community material for a kennel club, a straightforward image will usually communicate more effectively than a heavily stylised portrait; information about volunteer opportunities provides a useful example of why clarity matters.
Before submitting, confirm that the dog is recognisable, the entire outline is visible and the file opens correctly. The most dependable show-entry photograph is a sharp, honest image made in comfortable conditions, with the dog standing naturally and the final file cropped and labelled with care.